How to Change and Customize Your WordPress Theme Safely
Estimated reading: 2 minutes
How to Change a WordPress Theme Without Losing Content
Switching WordPress themes can breathe new life into your website by giving it a fresh look and feel. However, changing a theme without proper preparation can lead to data loss or functionality issues. Here’s a step-by-step guide to changing your WordPress theme safely while preserving your content.
Step 1: Backup Your Website
- Before making any changes, create a complete backup of your website, including:
Database: This stores your posts, pages, comments, and settings.
Files: Includes themes, plugins, and media uploads.
You can use a third-party backup tool or your hosting provider’s built-in backup solution.
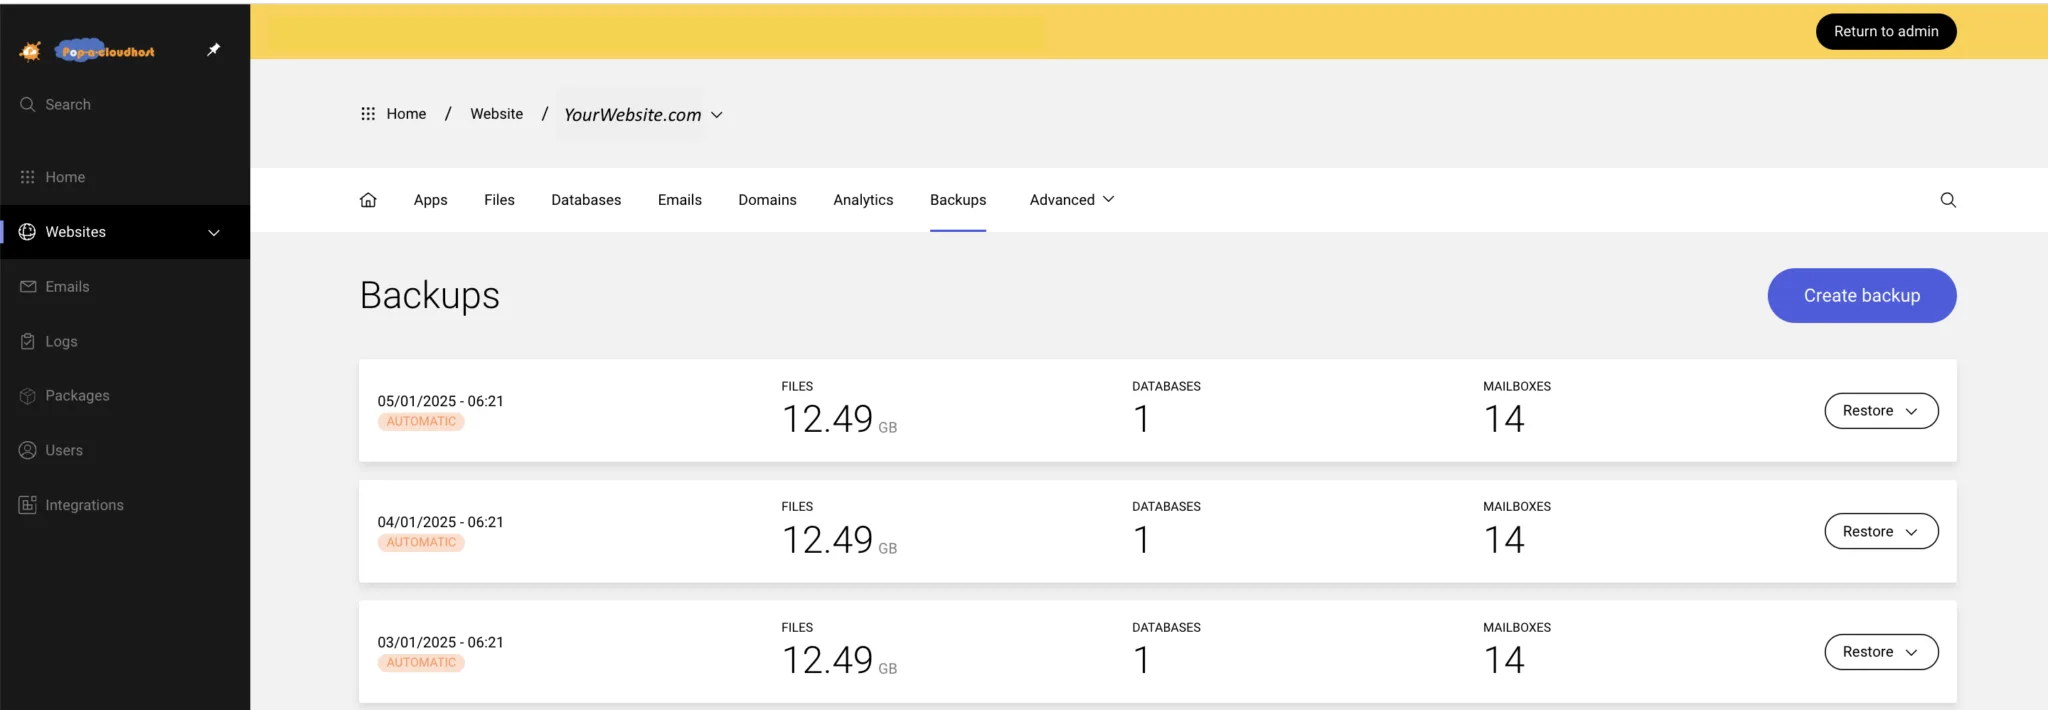
We, at PopaCloudHost, provide this as a free utility, which you can access the the Backup tool from your website management control panel as shown below.
Click on
Step 2: Create a Staging Environment
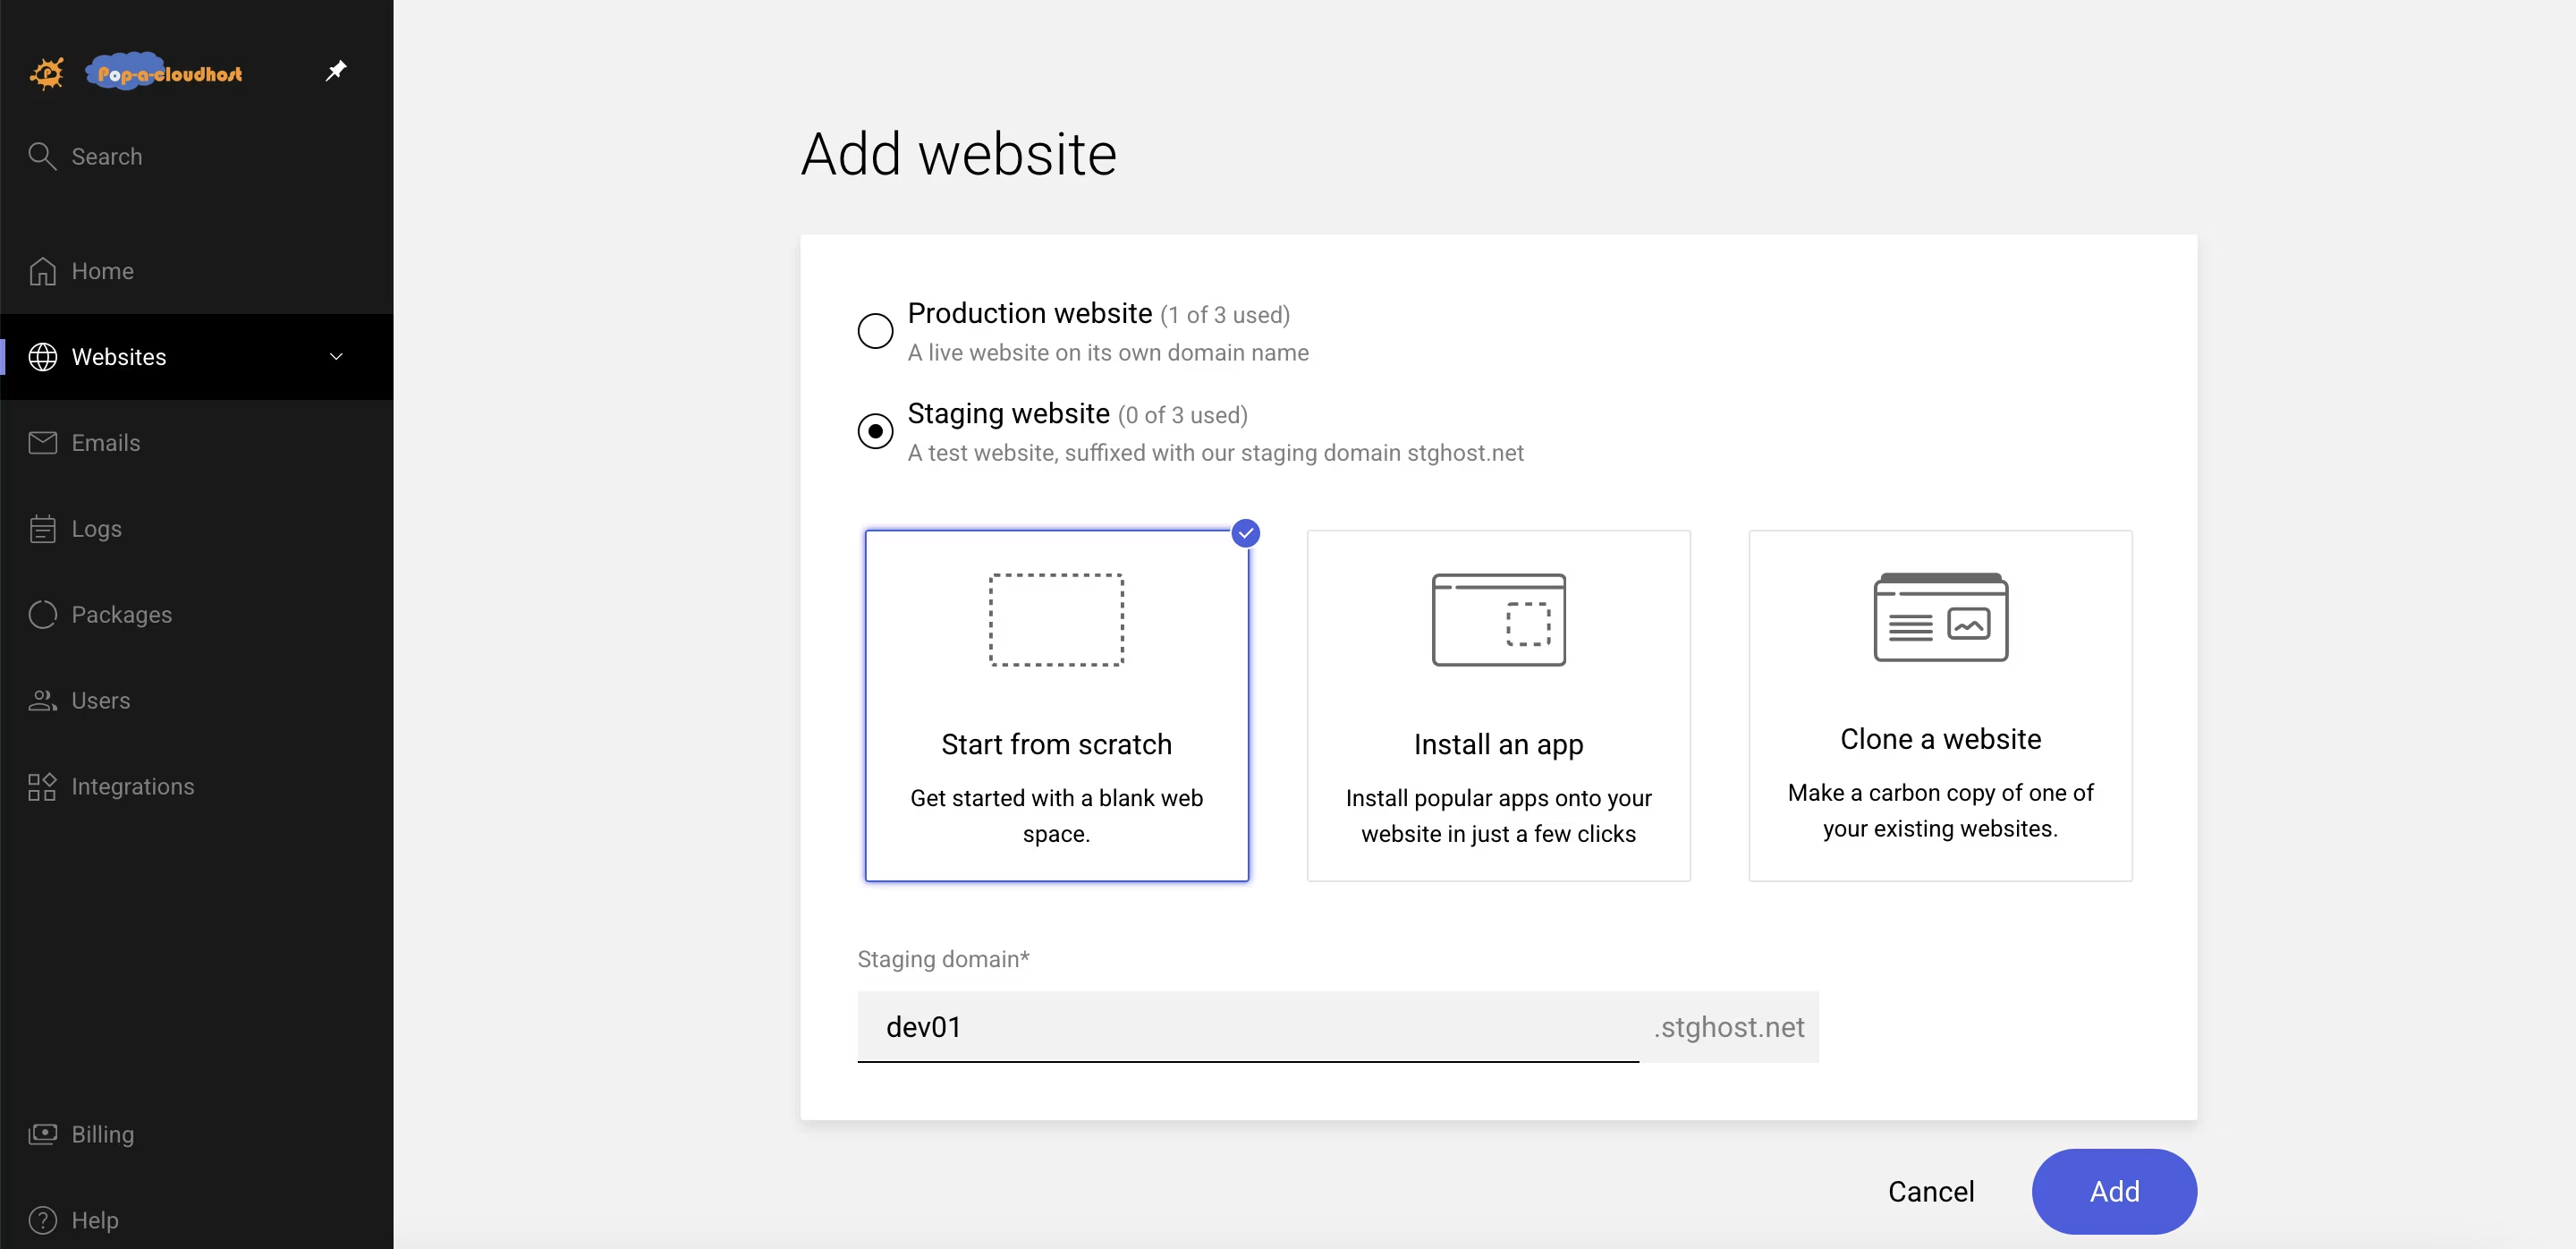
To minimize risk, create a staging environment to test the new theme before deploying it to your live site. Many hosting providers offer staging sites as part of their services, or you can use third-party plugins. Popacloudhost provides a website staging feature in-built into your plan for free.
Go to and select Staging Website.
Step 3: Review Your Current Theme’s Features
- Take note of your current theme’s customizations and features, such as:
Widgets
Menus
Custom CSS
Theme-specific shortcodes
This will help you replicate the functionality in the new theme.
Step 4: Check Plugin Compatibility
Themes often rely on plugins for added functionality. Ensure your essential plugins are compatible with the new theme to avoid functionality issues.
Step 5: Preview the New Theme
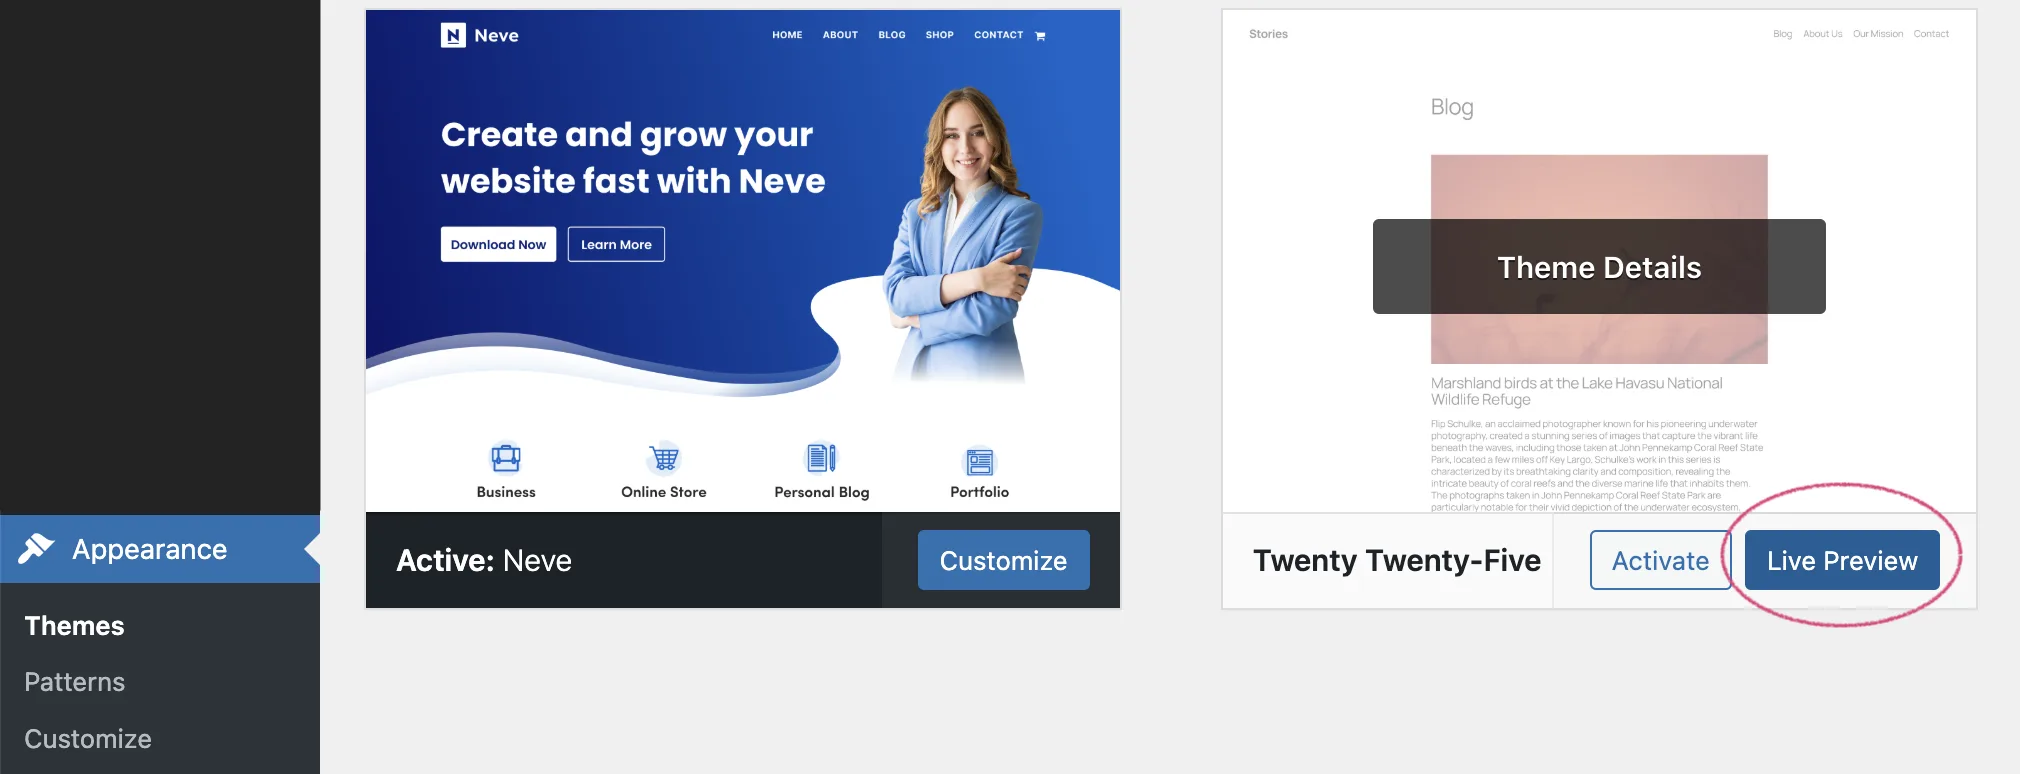
- Use the Live Preview feature in the WordPress dashboard to test the new theme before activating it:
Go to .
Hover over the desired theme and click Live Preview.
Verify how your content and layout appear with the new theme.
Step 6: Activate and Customize the New Theme
- Once you’re satisfied with the preview:
Activate the new theme.
Go to to configure settings such as:
Site identity (logo, tagline)
Colors and typography
Menu and widget placement
Step 7: Test Your Website
- After activating the theme, thoroughly test your website to ensure everything is functioning correctly:
Check your homepage, blog posts, and key pages.
Test forms, buttons, and navigation menus.
Verify responsiveness on mobile and tablet devices.
Step 8: Restore Missing Elements
- If any elements like widgets or menus don’t appear as expected, restore them using the WordPress dashboard:
Widgets: Go to and reassign them to the appropriate widget areas.
Menus: Reassign your navigation menu via .
Step 9: Optimize and Test Performance
- Finally, test your site’s performance and optimize as needed:
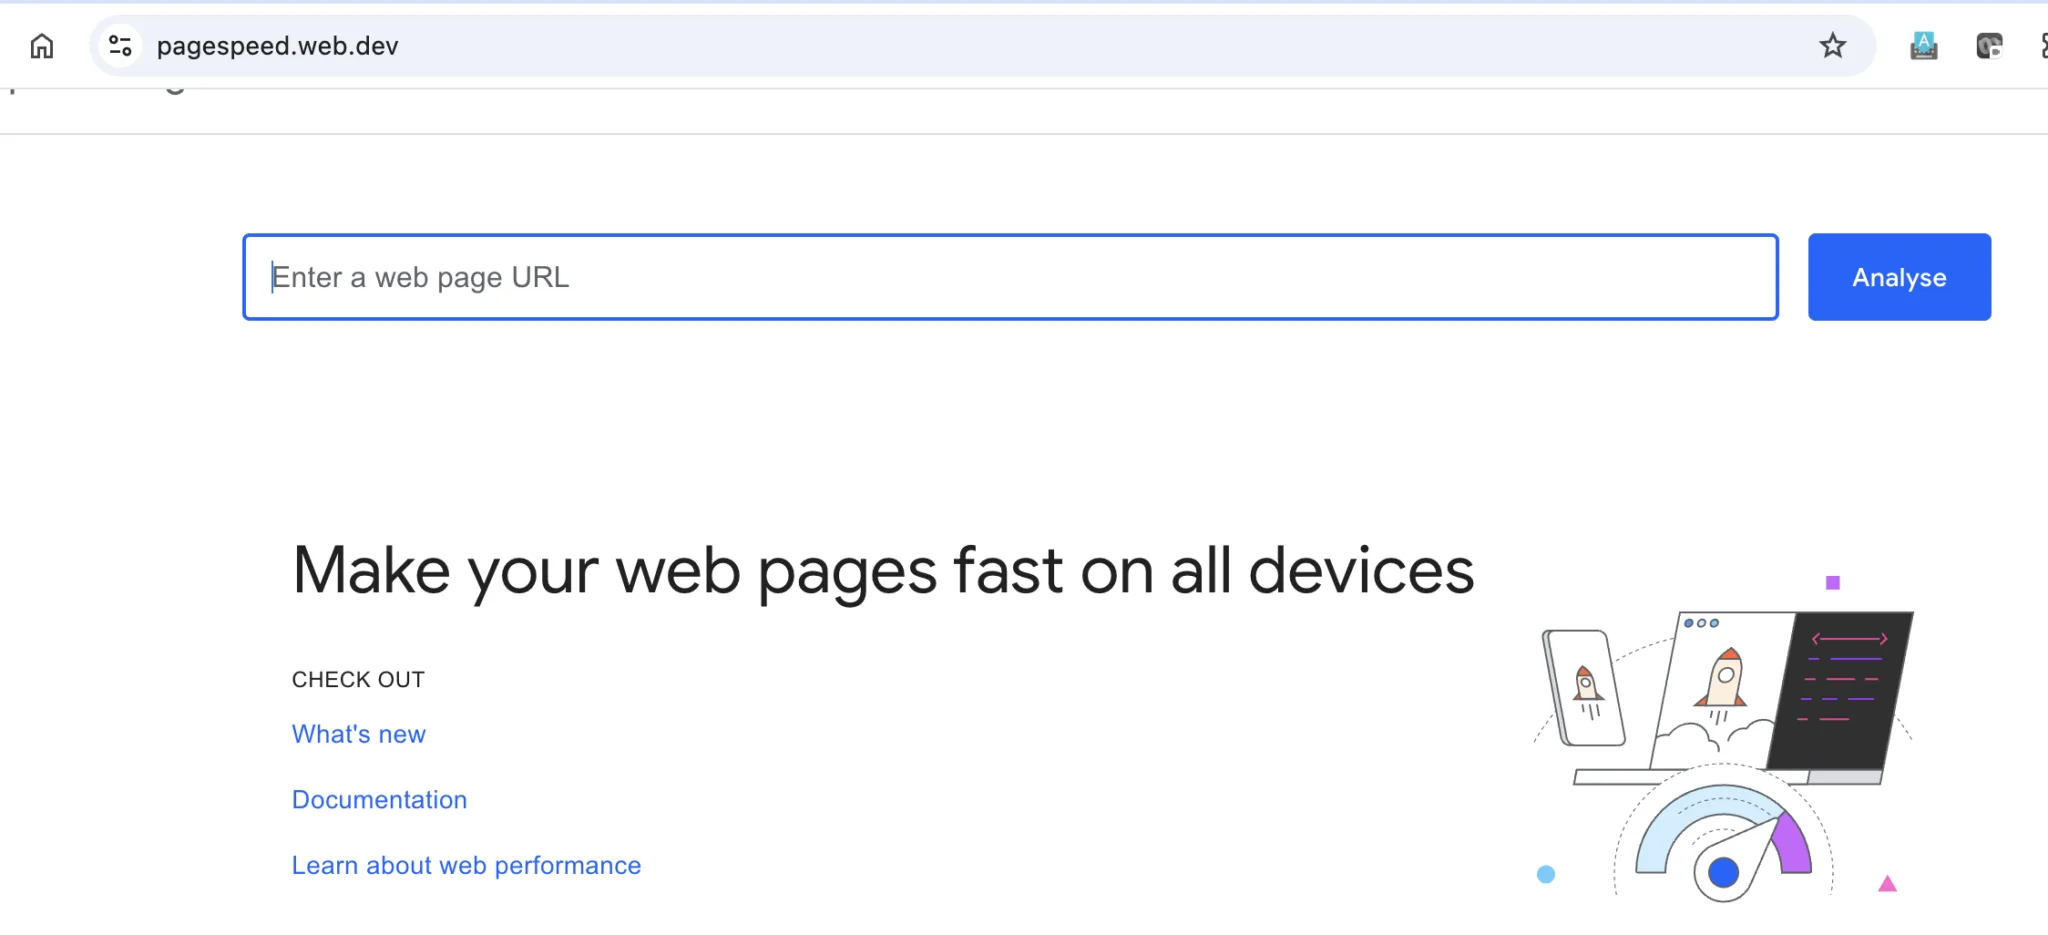
Use tools like Google PageSpeed Insights or GTmetrix to check load times.
Optimize images and caching to enhance speed.
By following these steps, you can confidently switch your WordPress theme without losing your valuable content or functionality.