How to Backup and Restore a WordPress Website Easily
Estimated reading: 3 minutes
Generate a Backup
Note
All Webhosting Plans are configured with Scheduled Automatic Backups.
- The following process is applicable only for the On-Demand backup feature.
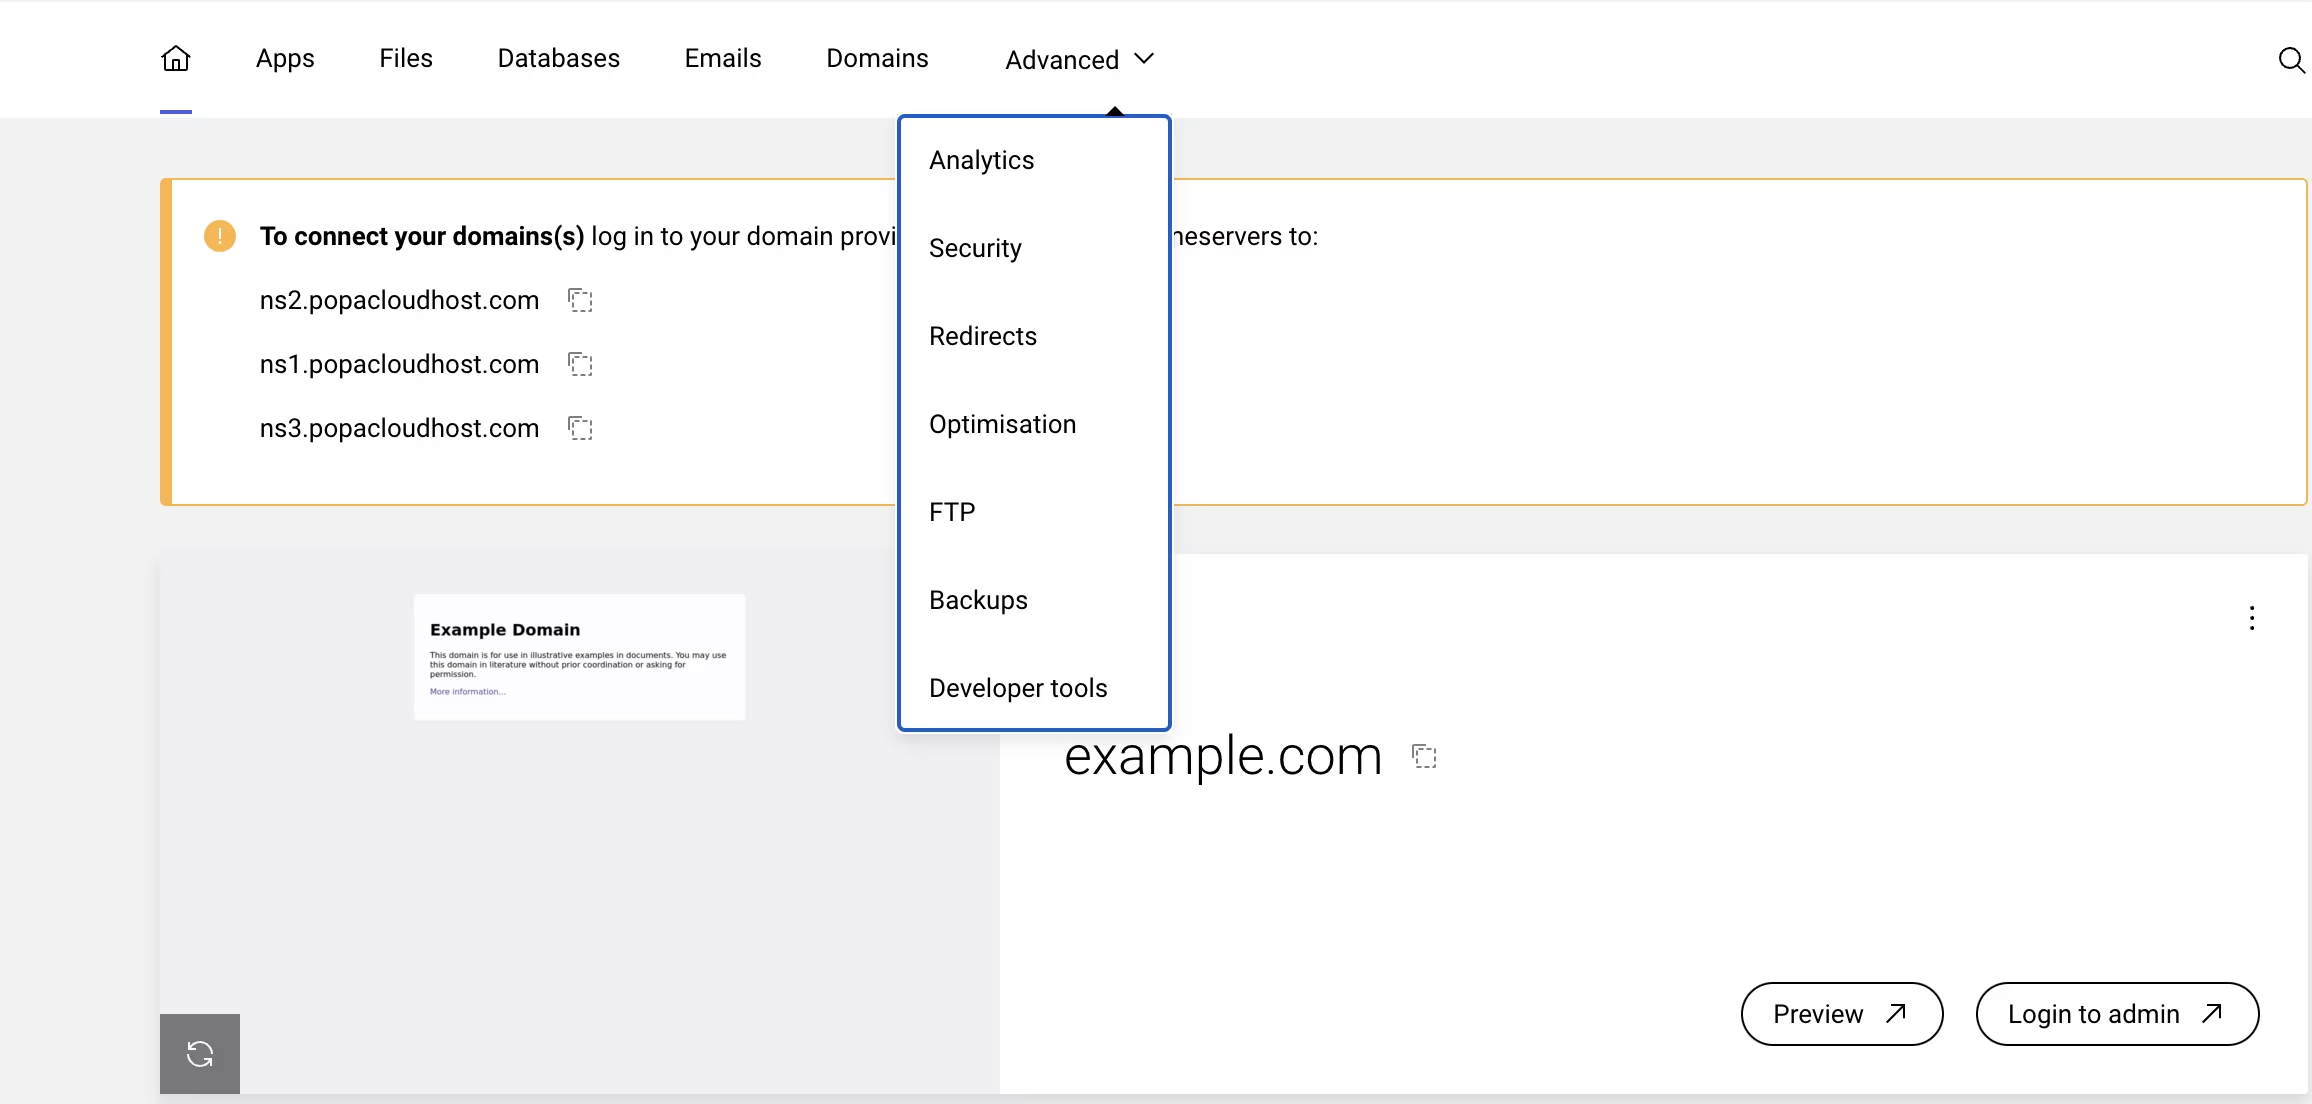
- 1 Open Websites in the left sidebar2 Select the website you would like to backup3 When the website dashboard loads select the Advanced drop-down in the top navigation, then click Backups
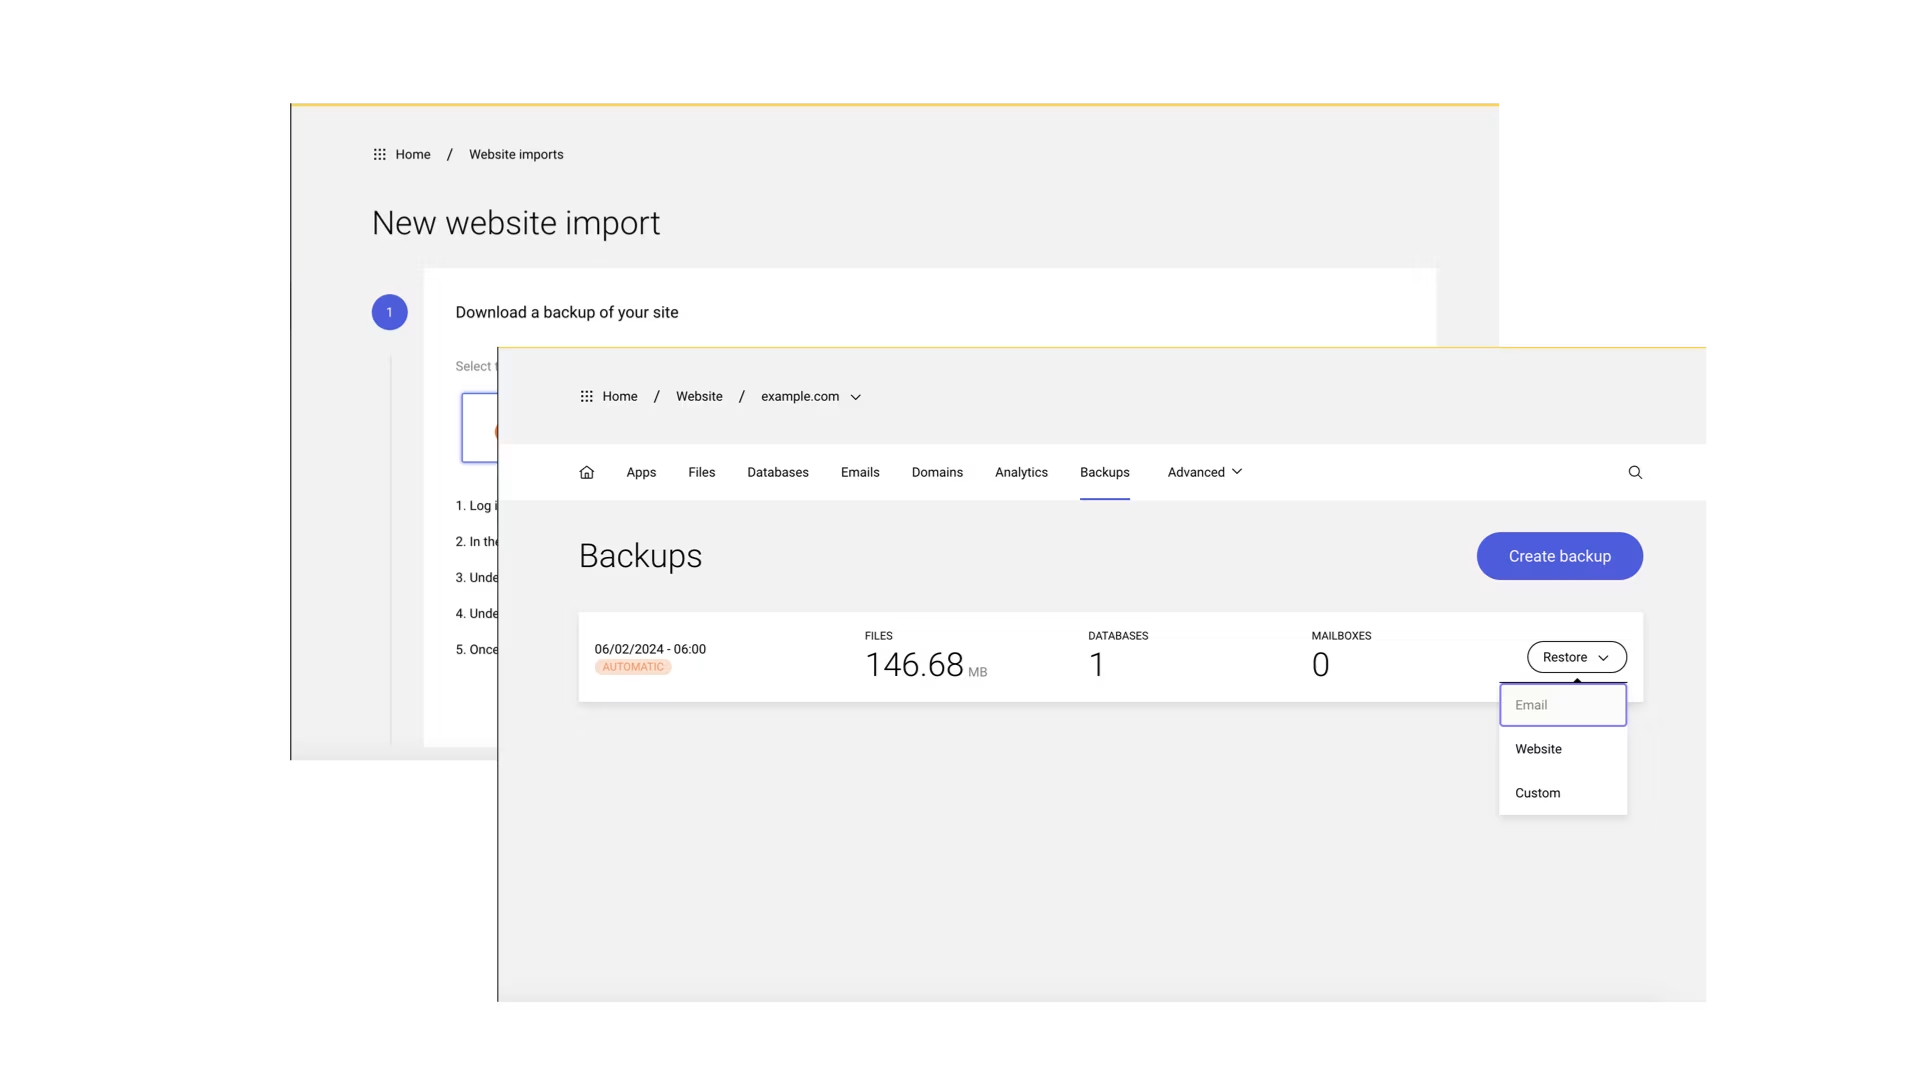
4 Select Create backup
Note
The on-demand create backup button is only available with Delight and Awesome plans.
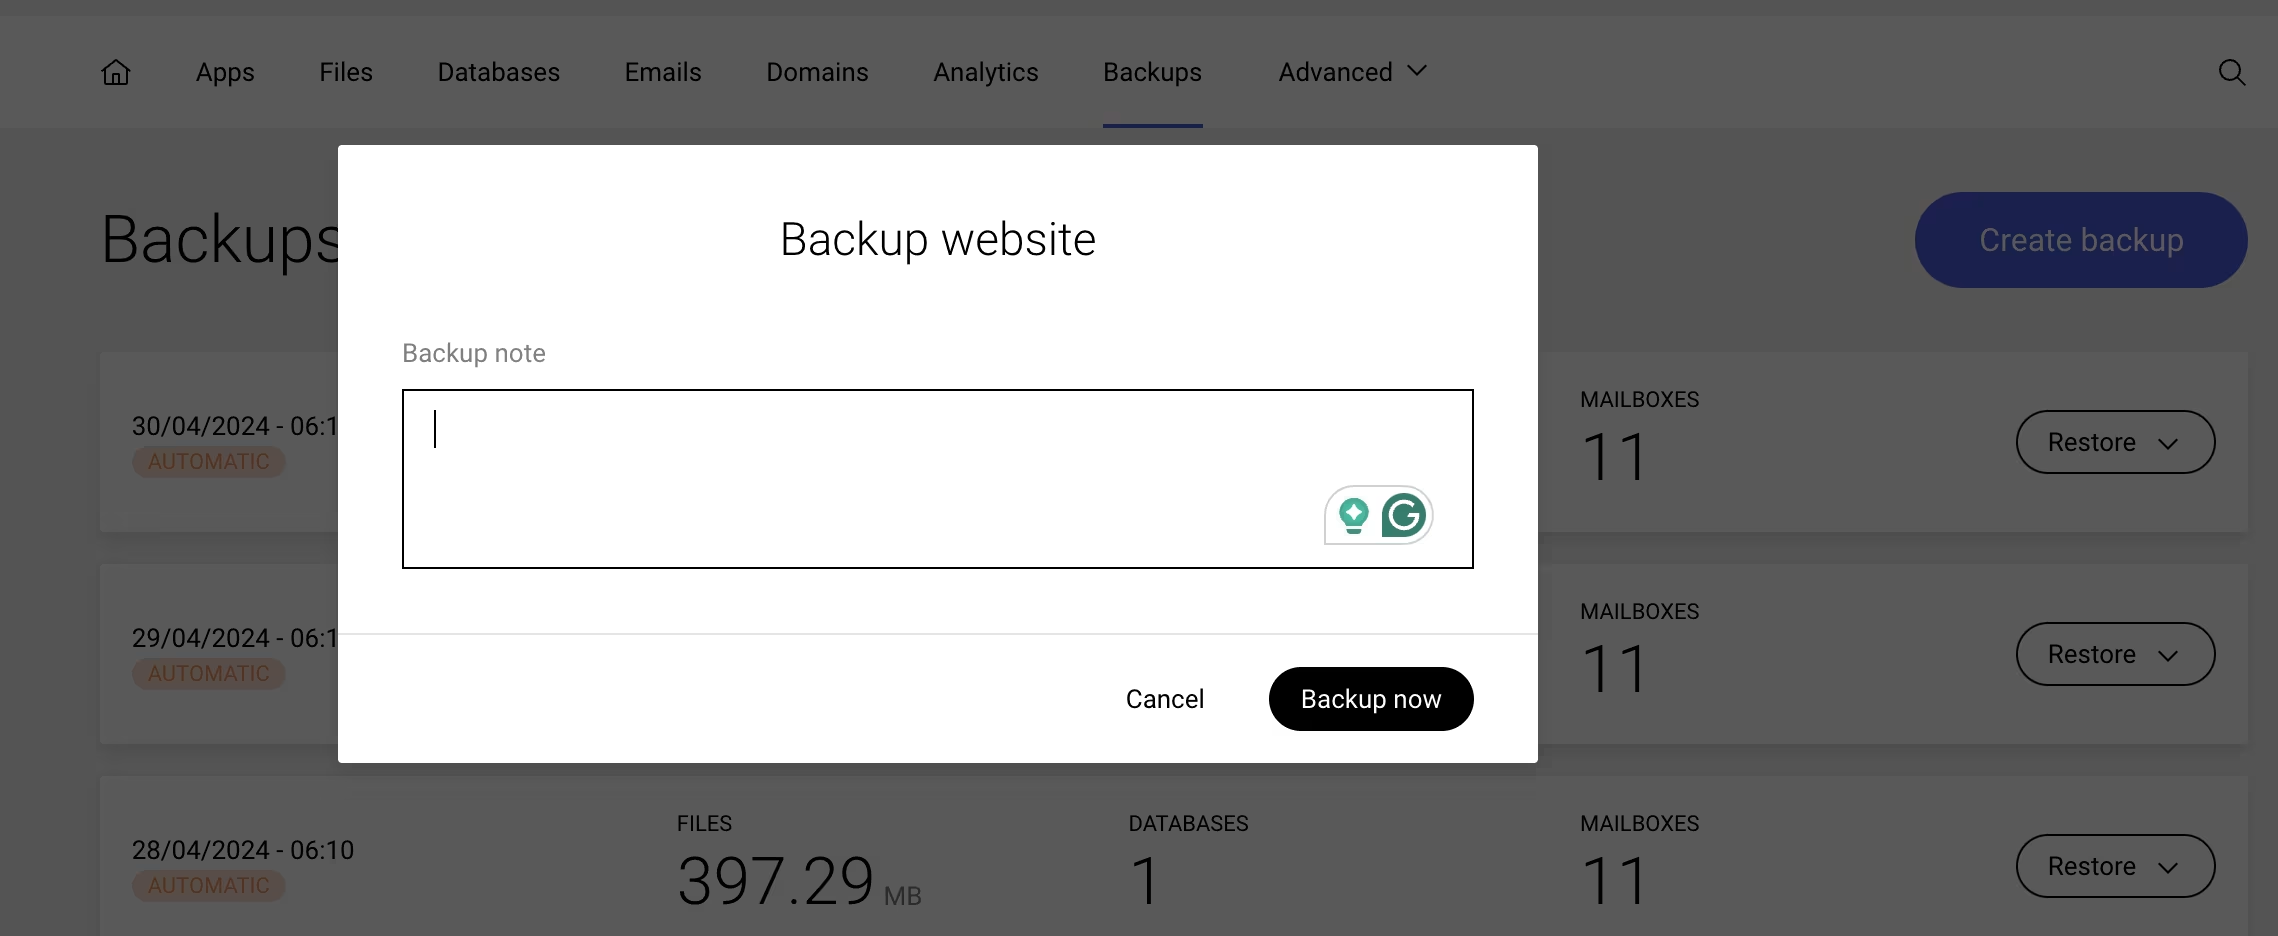
| 5 Enter a Note and click Backup now
Restore a Backup
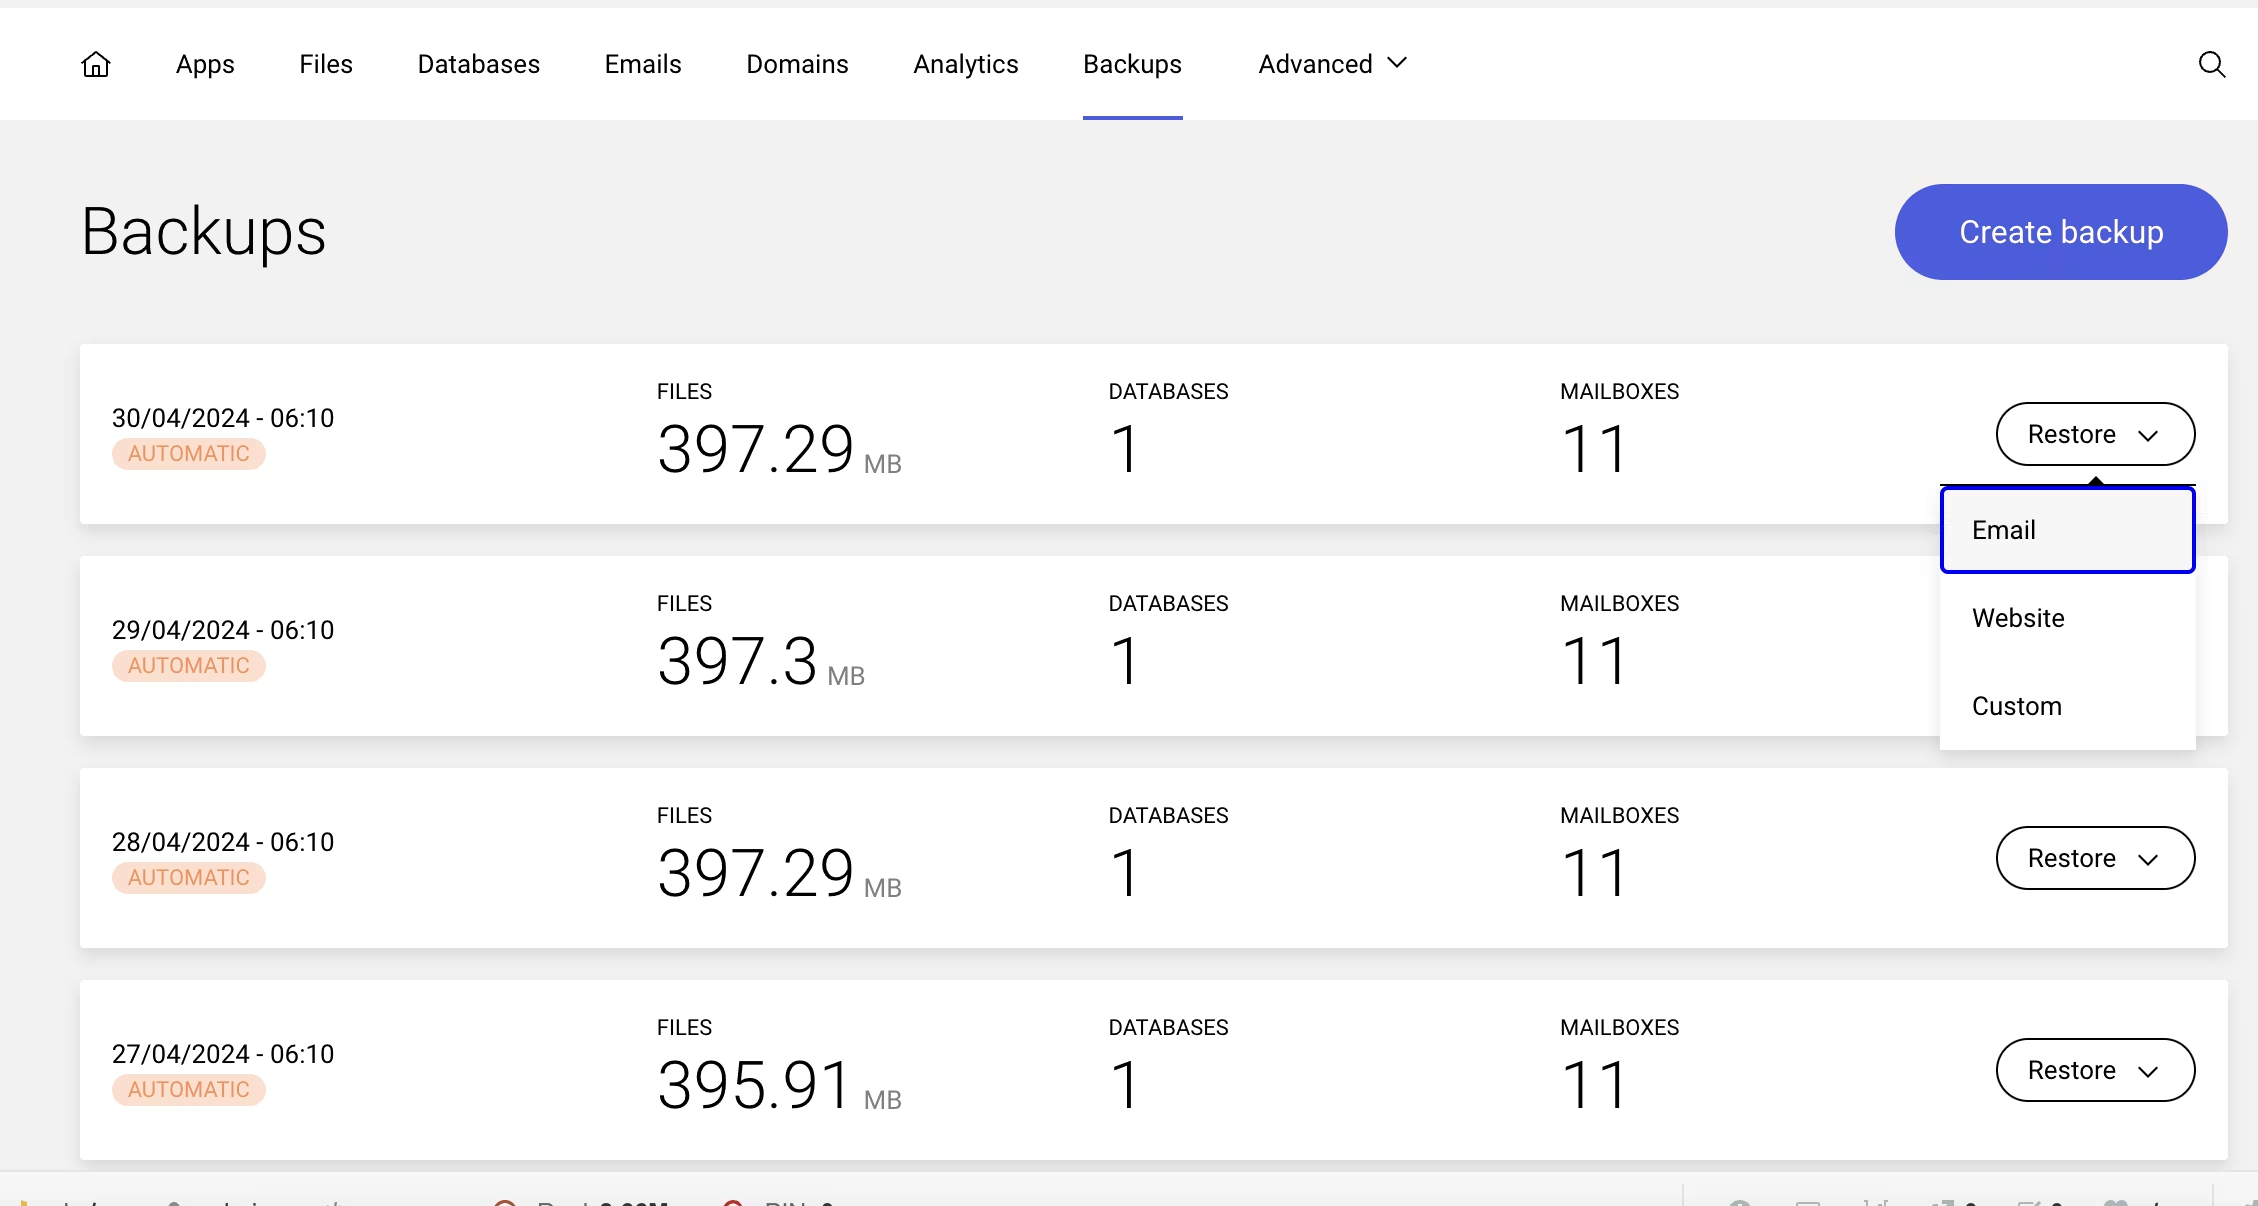
There are three different options you can choose while restoring a backup.
Email: This will restore all email accounts and forwarders
Website: This will restore all files and databases
Custom: This will restore only the selected files and email accounts chosen by you
To restore a website backup:
Open in the left sidebar
Select the website you would like to restore to a backup
When the website dashboard loads select the drop-down in the top navigation, then click
Navigate to the backup you would like to restore and select
Select the type of restore – either Email, Website, or Custom
Selecting
Email will restore all email accounts on the websites.Selecting
Website will restore all files and databases. This excludes email accounts.Selecting
Custom will allow you to select any combination of All files, specific database , or All email accounts.Warning
Any changes made between your last backup at the point of restoration will be deleted and may not be recoverable.
Buy Wordpress Hosting Plan Here.