Enable WordPress Debug Mode for Troubleshooting Errors
Estimated reading: 6 minutes
WordPress Also provides a debug tool to help debug an error on a website. Enabling debug mode will display information on a live website which is visible to visitors. If you are debugging a live website, we recommend creating a debug log file instead of enabling debug mode.
Using Control Panel
PopaCloudHost Control Panel Provide easy toggle option to enable Debug mode.
Navigate to and Scroll down to . Use toggle switch to enable or disable.
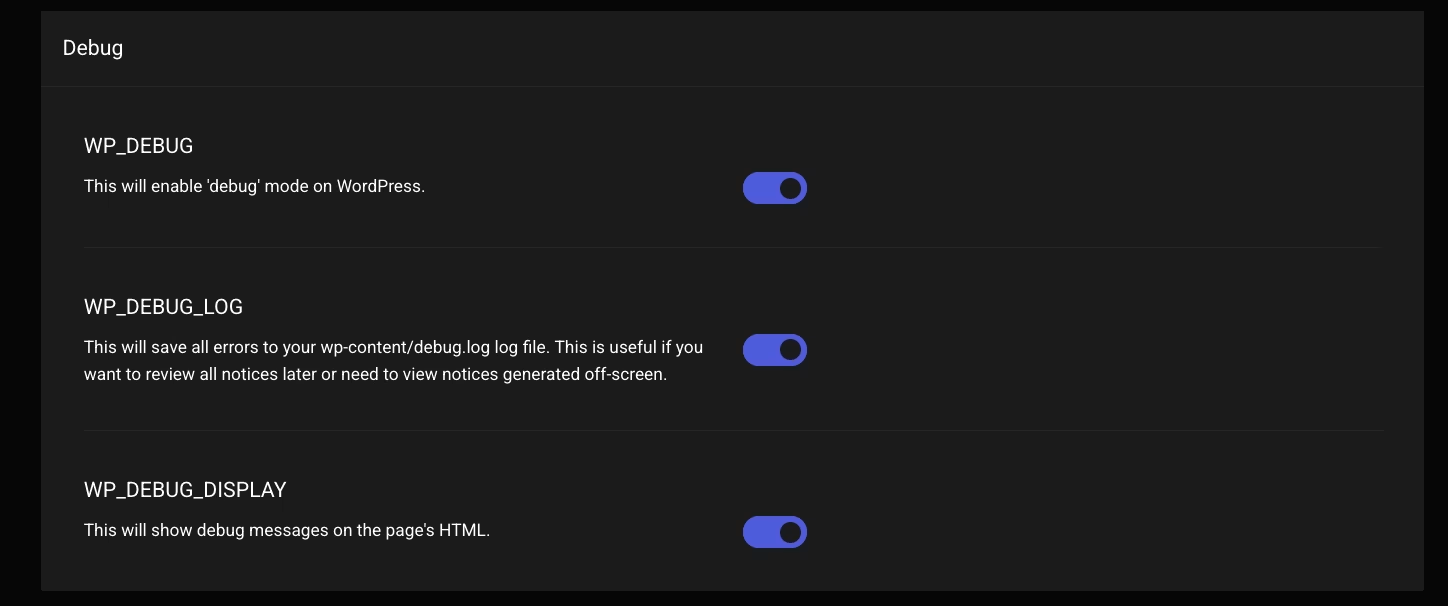
Enable WordPress debug mode ( Developer)
define('WP_DEBUG',true);
This will enable WordPress debug mode, allowing you to see greater detail on any errors. It sets PHP errors to E_ALL which includes all errors, warnings, notices, and deprecated errors, not all of which are necessarily relevant to a broken site but should be taken in context.
To enable and view the WordPress debug log file
This will enable the debug log file, and the default log file location will be This will disable displaying the debug information on the front end.
wp-config.php file and add the following lines to the end:-define('WP_DEBUG_DISPLAY',false);
define('WP_DEBUG_LOG',true);
You can read more about debugging WordPress here on the official website.